12 min to read
Ceph Node Management: Safe Removal and Addition of MON/MGR/OSD Components
A comprehensive guide to safely removing and adding Ceph cluster nodes while maintaining data integrity and cluster stability
Overview
Today, we’ll explore the procedures for safely removing and adding nodes in a Ceph cluster environment.
Ceph is a distributed storage system where various nodes with different roles are configured within the cluster. Operations involving node removal or addition during production require extremely careful consideration for data integrity and cluster stability. Particularly when removing OSDs, essential preparations include verifying available storage capacity, disabling scrubbing, and monitoring cluster rebalancing status.
In this practical exercise, we’ll perform the complete procedure of safely removing Ceph OSDs, MGRs, and MONs, followed by using Ansible to configure new nodes in the cluster.
Pre-Operation Checklist
Critical Verification Steps:
- Always verify cluster available space before removal operations
- Confirm sufficient capacity to accommodate the capacity of nodes being removed
- Check cluster health status and resolve any existing issues
- Plan maintenance window for potential performance impact
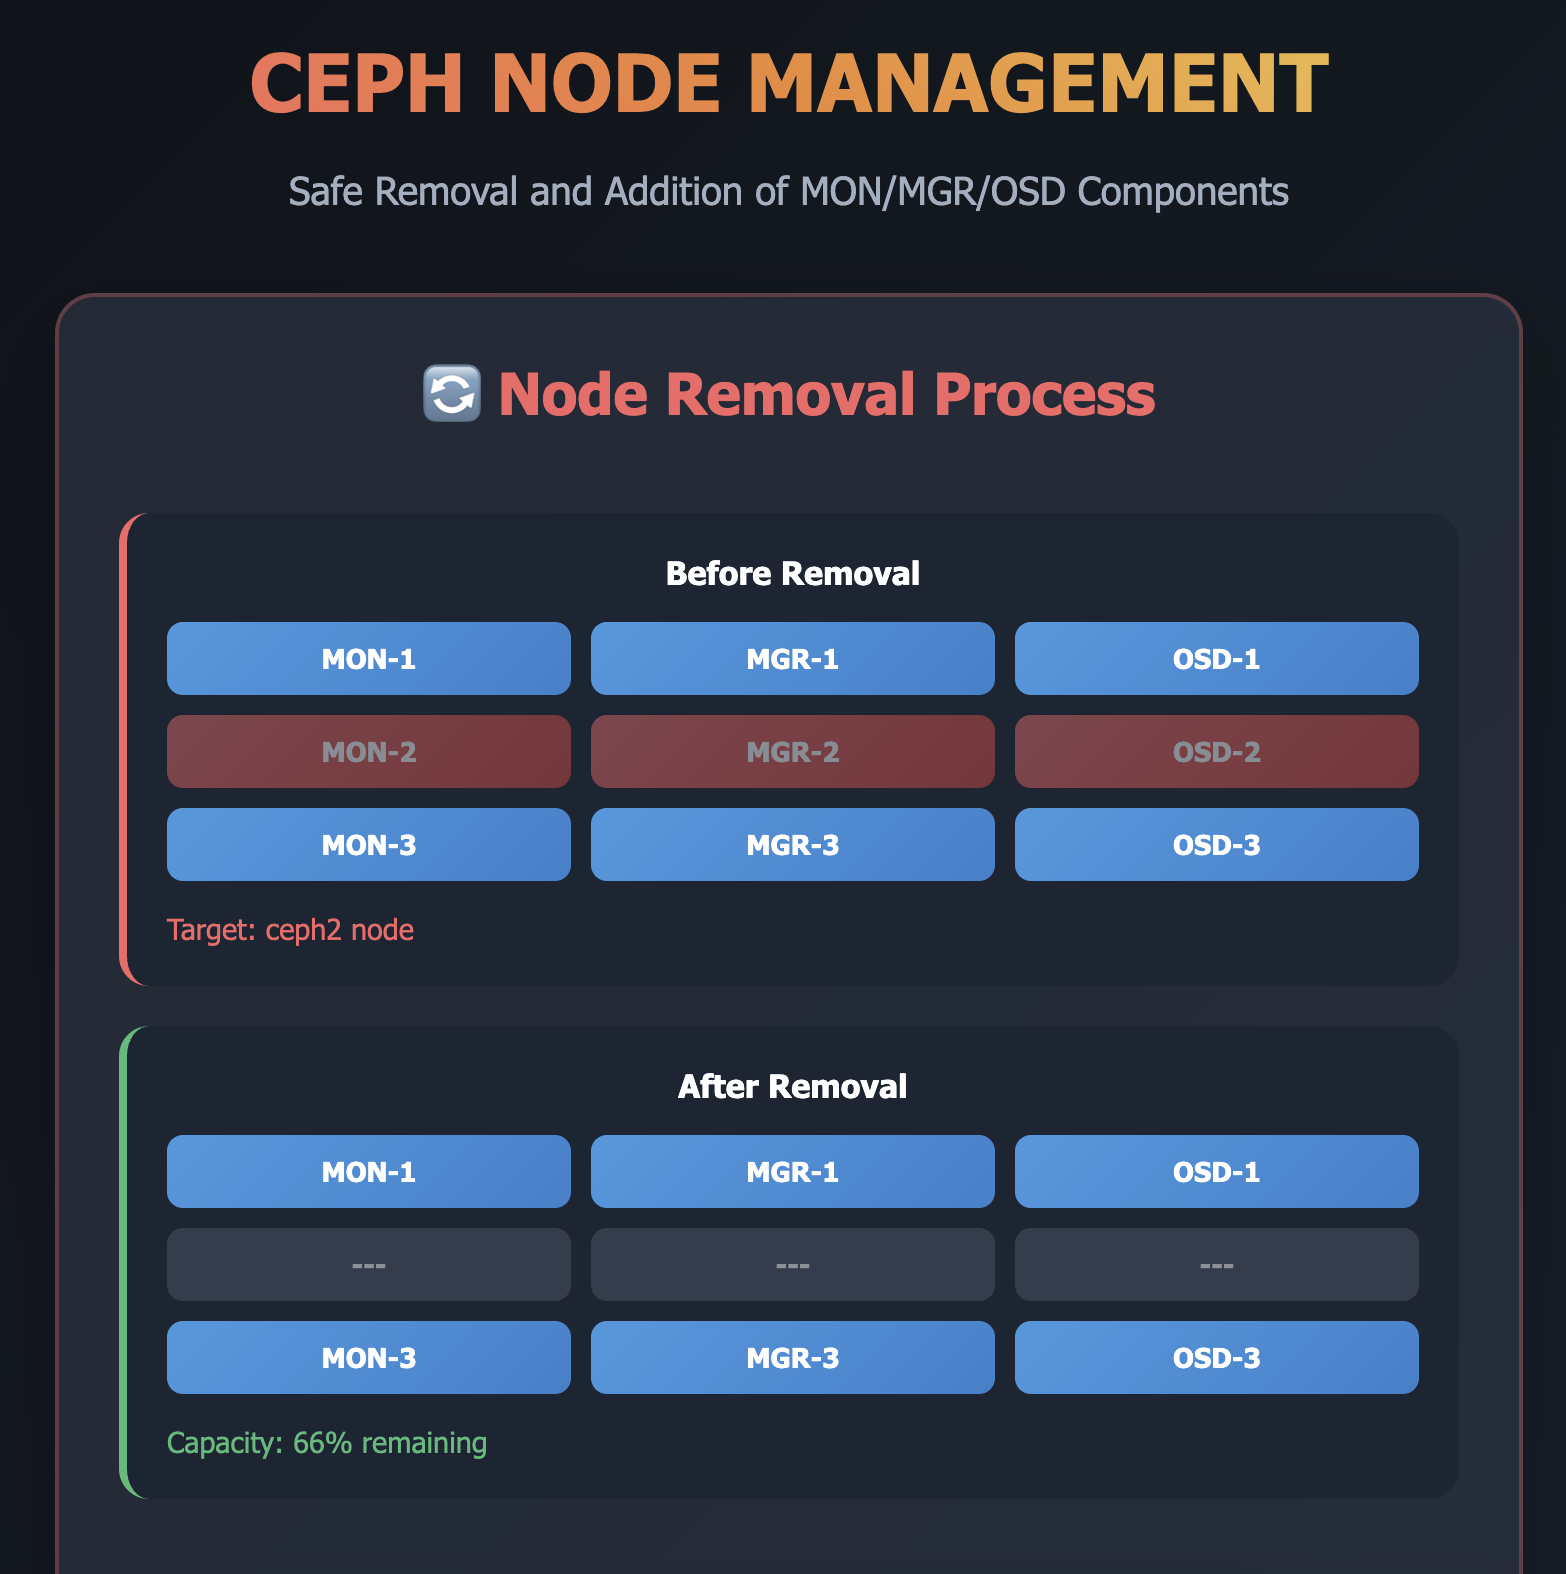
Part 1: Ceph Node Removal
Step 1: Cluster Status and Capacity Verification
Before any removal operation, thoroughly assess cluster health and capacity.
# Check overall cluster status
sudo ceph -s

# Verify OSD capacity and utilization
sudo ceph osd df

# Check cluster capacity distribution
sudo ceph df
Step 2: Disable Scrubbing (Prevent I/O Load)
Temporarily disable scrubbing operations to reduce I/O load during node removal.
# Disable regular scrubbing
sudo ceph osd set noscrub

# Disable deep scrubbing
sudo ceph osd set nodeep-scrub
Step 3: Ceph OSD Removal
Remove OSDs from the target Ceph node (example: ceph2 node OSD removal).
# Display current OSD tree structure
sudo ceph osd tree
ID CLASS WEIGHT  TYPE NAME            STATUS REWEIGHT PRI-AFF
-1       0.78119 root default
-3       0.39059     host ceph1
 1   hdd 0.19530         osd.1            up  1.00000 1.00000
 2   hdd 0.19530         osd.2            up  1.00000 1.00000
-5       0.39059     host ceph2
 0   hdd 0.19530         osd.0            up  1.00000 1.00000
 3   hdd 0.19530         osd.3            up  1.00000 1.00000

# Remove osd.0 (4-step process)
sudo ceph osd out osd.0
marked out osd.0.

sudo ceph osd down osd.0
marked down osd.0.

sudo ceph osd rm osd.0
removed osd.0

sudo ceph osd crush remove osd.0
removed item id 0 name 'osd.0' from crush map

# Remove osd.3 (4-step process)
sudo ceph osd out osd.3
marked out osd.3.

sudo ceph osd down osd.3
marked down osd.3.

sudo ceph osd rm osd.3
removed osd.3

sudo ceph osd crush remove osd.3
removed item id 3 name 'osd.3' from crush map

# Remove host from CRUSH map
sudo ceph osd crush remove ceph2
removed item id -5 name 'ceph2' from crush map

# Verify OSD tree after removal
sudo ceph osd tree
ID CLASS WEIGHT  TYPE NAME            STATUS REWEIGHT PRI-AFF
-1       0.39059 root default
-3       0.39059     host ceph1
 1   hdd 0.19530         osd.1            up  1.00000 1.00000
 2   hdd 0.19530         osd.2            up  1.00000 1.00000
Important Note: When removing OSDs, execute down and rm commands immediately in sequence, as OSDs can automatically come back up.
Step 4: Clean Up OSD Authentication Entries
Remove authentication entries for the deleted OSDs.
# List current authentication entries
sudo ceph auth list
installed auth entries:

osd.0
        key: AQDkfipjW6P1ERAAcCdTZJ6lATN7i8wxwh7j3Q==
        caps: [mgr] allow profile osd
        caps: [mon] allow profile osd
        caps: [osd] allow *
osd.1
        key: AQDkfipjud7XFhAAqEEuJJtSofEOnHH5isz63w==
        caps: [mgr] allow profile osd
        caps: [mon] allow profile osd
        caps: [osd] allow *
# ... additional entries

# Delete authentication for removed OSDs
sudo ceph auth del osd.0
updated

sudo ceph auth del osd.3
updated

sudo ceph auth del mgr.ceph2
updated

# Verify authentication cleanup
sudo ceph auth list
Step 5: Ceph MON Removal
Remove the Monitor daemon from the target Ceph node.
# Check current monitor status
sudo ceph mon stat
e1: 2 mons at {ceph1=[v2:10.3.2.206:3300/0,v1:10.3.2.206:6789/0],ceph2=[v2:10.3.2.207:3300/0,v1:10.3.2.207:6789/0]}, election epoch 4, leader 0 ceph1, quorum 0,1 ceph1,ceph2

# Remove monitor
sudo ceph mon remove ceph2
removing mon.ceph2 at [v2:10.3.2.207:3300/0,v1:10.3.2.207:6789/0], there will be 1 monitors

# Verify monitor removal
sudo ceph -s
  cluster:
    id:     14675ee4-b9dd-440b-9e73-e4c00a62eab1
    health: HEALTH_WARN
            noscrub,nodeep-scrub flag(s) set

  services:
    mon: 1 daemons, quorum ceph1 (age 4s)
Step 6: Ceph MGR Removal
Transition the Manager daemon to standby and then remove it.
# Check current manager status
sudo ceph -s
  services:
    mon: 1 daemons, quorum ceph1 (age 6m)
    mgr: ceph2(active, since 4w), standbys: ceph1

# Fail over the manager
sudo ceph mgr fail ceph2

# Verify manager failover
sudo ceph -s
  services:
    mon: 1 daemons, quorum ceph1 (age 7m)
    mgr: ceph1(active, since 3s), standbys: ceph2

# SSH to target node and stop manager service
ssh [target-ceph-node]

# Check manager service status
sudo systemctl status ceph-mgr@ceph2
● ceph-mgr@ceph2.service - Ceph cluster manager daemon
   Loaded: loaded (/usr/lib/systemd/system/ceph-mgr@.service; enabled; vendor preset: disabled)
   Active: active (running) since Tue 2022-08-16 17:34:45 KST; 1 months 4 days ago

# Stop manager service
sudo systemctl stop ceph-mgr@ceph2

# Verify service is stopped
sudo systemctl status ceph-mgr@ceph2
● ceph-mgr@ceph2.service - Ceph cluster manager daemon
   Loaded: loaded (/usr/lib/systemd/system/ceph-mgr@.service; enabled; vendor preset: disabled)
   Active: inactive (dead) since Tue 2022-09-20 16:43:21 KST; 11s ago
Step 7: Re-enable Scrubbing
Restore normal scrubbing operations after node removal.
# Re-enable deep scrubbing
sudo ceph osd unset nodeep-scrub
nodeep-scrub is unset

# Re-enable regular scrubbing
sudo ceph osd unset noscrub
noscrub is unset
Step 8: Final Cluster Status Verification
# Check final cluster status
sudo ceph -s
  cluster:
    id:     14675ee4-b9dd-440b-9e73-e4c00a62eab1
    health: HEALTH_WARN

  services:
    mon: 1 daemons, quorum ceph1 (age 99m)
    mgr: ceph1(active, since 91m)
    osd: 2 osds: 2 up (since 2h), 2 in (since 2h)
    rgw: 3 daemons active (master1.rgw0, master2.rgw0, master3.rgw0)

  data:
    pools:   11 pools, 228 pgs
    objects: 4.41k objects, 15 GiB
    usage:   32 GiB used, 368 GiB / 400 GiB avail
    pgs:     228 active+clean
Note: HEALTH_WARN status is expected after node removal. This will resolve once replacement nodes are added.
Part 2: Ceph Node Addition
Step 1: Prepare New Ceph OSD Node
Install the same OS as existing Ceph nodes and assign an IP address.
Step 2: SSH Key Exchange
Enable SSH access to the new node by exchanging public keys.
# Copy SSH public key to new node
ssh-copy-id [target-ceph-node]
Step 3: Time Synchronization
Configure time synchronization to ensure cluster consistency.
# SSH to new node
ssh [target-ceph-node]

# Configure chrony
sudo vi /etc/chrony.conf
server [control-node-ip] iburst

# Restart chrony service
sudo systemctl restart chronyd

# Verify time synchronization
chronyc sources
210 Number of sources = 1
MS Name/IP address                   Stratum Poll Reach LastRx Last sample
===========================================================================================
^* [control-node-ip]                 3   6   377    36   +489us[+1186us] +/-   40ms
Step 4: Update Inventory Configuration
Modify hosts.ini
# Set zone name
ZONE_NAME=[target-zone]

# Navigate to project directory
cd ~/somaz

# Create backup of hosts.ini
cp inventory/$ZONE_NAME/hosts.ini inventory/$ZONE_NAME/hosts.ini.ceph-add

# Edit hosts.ini for new node
vi inventory/$ZONE_NAME/hosts.ini.ceph-add
Add new node configuration:
# Add new node entry
[new-node-name] ip=[new-node-ip]

# Ceph cluster configuration
[mons]
# [existing-ceph-node]    # Comment out existing
+ [new-node-name]

[mgrs]
# [existing-ceph-node]    # Comment out existing
+ [new-node-name]

[osds]
# [existing-ceph-node]    # Comment out existing
+ [new-node-name]
Modify extra-vars.yml
# Create backup of extra-vars
cp inventory/$ZONE_NAME/extra-vars.yml inventory/$ZONE_NAME/extra-vars.yml.ceph-add

# Edit extra-vars for OSD configuration
vi inventory/$ZONE_NAME/extra-vars.yml.ceph-add
Update OSD configuration if disk layout differs:
## ceph osd
osd_objectstore: bluestore
lvm_volumes:
  - data: /dev/sdb
  - data: /dev/sdc
Note: Only modify extra-vars if OSD configuration changes. Use existing configuration for identical setups.
Step 5: Execute Ansible Playbook
Deploy the new node using Ansible automation.
# Run Ansible playbook with specific tags
ansible-playbook -b -u somaz -i inventory/$ZONE_NAME/hosts.ini.ceph-add --extra-vars=@inventory/$ZONE_NAME/extra-vars.yml.ceph-add site.yml --tags=setup-os,ceph
Step 6: Verify OSD Addition
Confirm successful node addition and cluster health restoration.
# Check cluster status
sudo ceph -s
  cluster:
    id:     9893a83c-63e2-41b6-a538-f72008e15a01
    health: HEALTH_OK

  services:
    mon: 2 daemons, quorum ceph1,ceph2 (age 32m)
    mgr: ceph1(active, since 3h), standbys: ceph2
    osd: 4 osds: 4 up (since 6m), 4 in (since 6m)
    rgw: 3 daemons active (master1.rgw0, master2.rgw0, master3.rgw0)

  data:
    pools:   11 pools, 228 pgs
    objects: 200 objects, 4.7 KiB
    usage:   4.1 GiB used, 796 GiB / 800 GiB avail
    pgs:     228 active+clean

# Verify OSD tree structure
sudo ceph osd tree
ID CLASS WEIGHT  TYPE NAME            STATUS REWEIGHT PRI-AFF
-1       0.78119 root default
-3       0.39059     host ceph1
 1   hdd 0.19530         osd.1            up  1.00000 1.00000
 3   hdd 0.19530         osd.3            up  1.00000 1.00000
-5       0.39059     host ceph2
 0   hdd 0.19530         osd.0            up  1.00000 1.00000
 2   hdd 0.19530         osd.2            up  1.00000 1.00000
Best Practices and Operational Guidelines
Node Removal Sequence
- OSD Removal: Always remove OSDs first to ensure data migration
- MON Removal: Remove monitors while maintaining quorum
- MGR Removal: Fail over managers before service termination
Critical Safety Measures
- Capacity Planning: Ensure 2x capacity headroom before removal
- Scrubbing Management: Disable during operations, re-enable afterward
- Authentication Cleanup: Remove stale authentication entries
- Status Monitoring: Continuously monitor cluster health during operations
Automation Benefits
- Ansible Integration: Standardized deployment procedures
- Configuration Management: Version-controlled inventory and variables
- Repeatability: Consistent node provisioning across environments
- Error Reduction: Automated procedures minimize human error
Troubleshooting Common Issues
OSD Removal Issues
# If OSD comes back up unexpectedly
sudo ceph osd down osd.X
sudo ceph osd out osd.X
# Immediately follow with rm command
Monitor Quorum Problems
# Ensure odd number of monitors (3, 5, 7)
# Never reduce below minimum quorum requirements
sudo ceph mon stat
Manager Failover Issues
# Force manager failover if automatic failover fails
sudo ceph mgr fail [manager-name]
# Wait for new active manager before proceeding
Authentication Cleanup
# Verify no orphaned authentication entries remain
sudo ceph auth list
Conclusion
Node management operations in Ceph clusters require more than simply adding or removing nodes.
The interconnected nature of various system components demands precise sequencing and command execution.
Through this practical exercise, we've learned the principles of removing Ceph nodes in the sequence: OSD → MON → MGR,
along with the complete workflow of scrubbing deactivation → authentication deletion → service termination → verification.
We've also acquired practical expertise in rapid automated deployment of new nodes using Ansible.
Key Takeaways:
- Sequential Approach: Follow proper removal order (OSD → MON → MGR)
- Capacity Planning: Always verify sufficient capacity before operations
- Automation Value: Ansible dramatically simplifies node provisioning
- Safety First: Disable scrubbing and monitor cluster health throughout
- Documentation: Maintain detailed procedures for emergency response
Production Considerations:
- Always implement backup and disaster recovery scenarios before Ceph configuration changes
- Verify available capacity and cluster status as prerequisites
- Master log analysis and status verification commands for rapid issue response
- Plan for potential performance impacts during maintenance windows
This learning experience has significantly enhanced confidence in Ceph cluster operations. Future exploration will include advanced operational topics such as CephFS, RGW, and block device configurations.
“In rapidly changing infrastructure environments, safe and automated cluster management is paramount.”


Comments