7 min to read
Understanding and Installing Vaultwarden - A Self-Hosted Password Manager
A comprehensive guide to Vaultwarden deployment on Kubernetes
Introduction to Vaultwarden
Vaultwarden is a lightweight, open-source alternative to the official Bitwarden server implementation. Written in Rust instead of .NET, it offers significantly reduced resource requirements while maintaining compatibility with all official Bitwarden clients, making it ideal for self-hosting password management solutions for individuals and small teams.
What is Vaultwarden?
The Self-Hosted Password Management Solution
Vaultwarden (formerly Bitwarden_RS) provides a self-contained, efficient implementation of the Bitwarden API that enables:
- Full Control: Complete ownership of your sensitive password data
- Privacy: No reliance on Bitwarden’s cloud infrastructure
- Simplicity: Simplified deployment with minimal resource consumption
- Compatibility: Works with all official Bitwarden clients and browser extensions
Vaultwarden retains core functionality while consuming a fraction of the resources needed by the official Bitwarden server, making it accessible for home labs and small environments.
Key Features and Capabilities
| Feature | Description |
|---|---|
| Lightweight Architecture |
|
| Seamless Compatibility |
|
| Storage Flexibility |
|
| Security Features |
|
Vaultwarden vs. Official Bitwarden
Key Differences
- Community Support: Relies on community, not official Bitwarden support
- Enterprise Features: Some advanced features may be limited or unavailable
- Update Cycle: May lag behind official server updates when API changes occur
- Licensing: Free for all features, no license requirements
For most personal and small team use cases, these differences are acceptable trade-offs for simplified deployment and reduced resource requirements.
Deployment on Kubernetes using Helm
Deploying Vaultwarden on Kubernetes provides the benefits of container orchestration, including scaling, automated recovery, and simplified updates. The Helm chart approach streamlines the installation process and provides a consistent deployment method.
Prerequisites
Before you begin, ensure you have:
- Kubernetes Cluster: A working cluster (local or cloud)
- Helm: Helm 3 installed and configured
- Storage: Default StorageClass for persistent volumes
- Ingress Controller: NGINX or similar for external access
- DNS: Domain name pointing to your ingress (for production)
Preparation Steps
1. Setting Up the Helm Repository
# Clone charts repository
git clone https://github.com/gissilabs/charts.git

# Add Helm repository
helm repo add gissilabs https://gissilabs.github.io/charts/

# Prepare values file
cd ~/charts/vaultwarden
mkdir values
cp values.yaml values/mgmt.yaml
2. Configuring Backup Templates
Setting up proper backup procedures is critical for password managers.
Create a CronJob and PersistentVolumeClaim for regular Vaultwarden data backups.
Create templates/backup-cronjob.yaml:
Create templates/backup-persistentvolumeclaim.yaml:
Configuration Options
| Configuration Area | Available Options |
|---|---|
| Database |
|
| Security |
|
| Networking |
|
| Storage |
|
Example Configuration File
database:
  type: sqlite
  wal: true

vaultwarden:
  verifySignup: false
  admin:
    enabled: true
    disableAdminToken: false
    token: "Somaz!123"

  emergency:
    enabled: true

service:
  type: ClusterIP
  httpPort: 80

ingress:
  enabled: true
  className: "nginx"
  host: "vaultwarden.somaz.link"
  annotations:
    nginx.ingress.kubernetes.io/force-ssl-redirect: "true"

persistence:
  enabled: true
  size: 25Gi
  storageClass: "default"
Deployment Process
Step-by-Step Deployment
- Prepare your Helm values file.
- Install the chart using Helm.
- Verify deployment and access the web interface.
Advanced Configuration
Email Notification Setup (SMTP)
Configuring SMTP allows Vaultwarden to send important notifications:
- Account verification emails
- Password hint reminders
- Organization invitations
- Emergency access requests
Add to your values file:
smtp:
  enabled: true
  host: "smtp.office365.com"
  from: "noreply@somaz.link"
  fromName: "Somaz, Inc."
  security: starttls
  port: 587
  timeout: 15
  user: ""
  password: ""
Maintenance and Upgrades
To upgrade your installation:
# Update the Helm repository
helm repo update

# Apply the upgrade
helm upgrade vaultwarden . -n vaultwarden -f ./values/mgmt.yaml
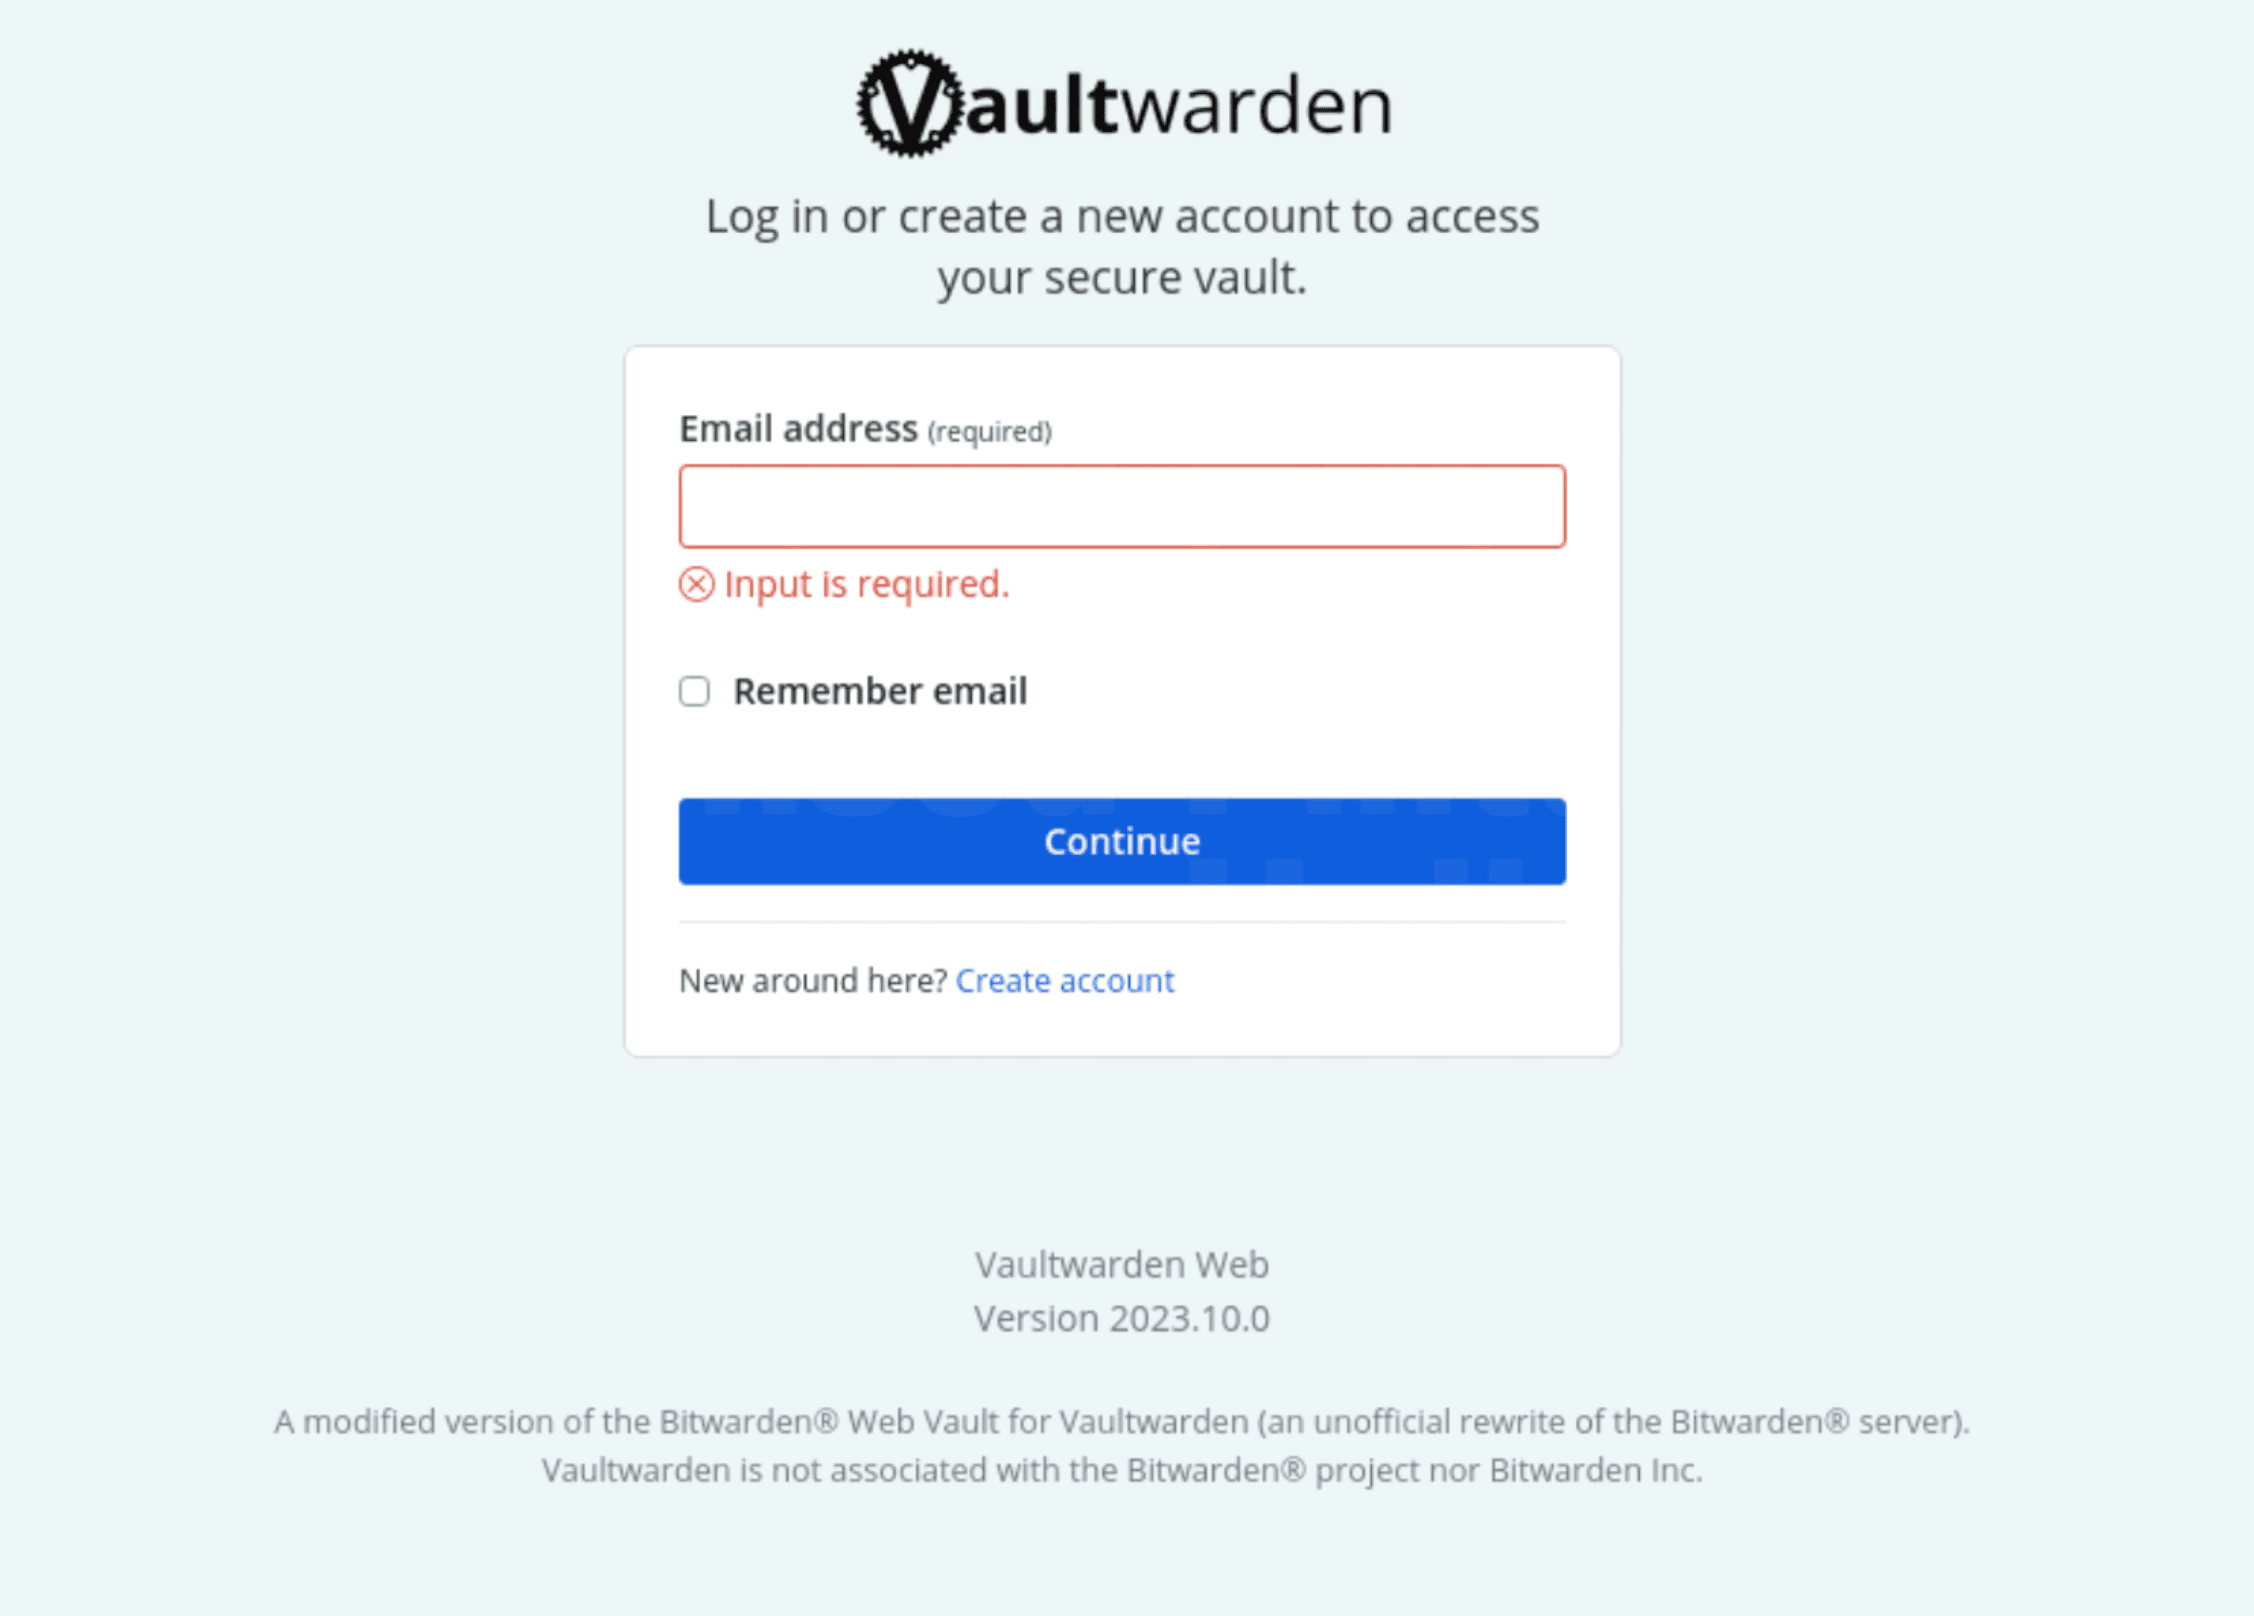
Post-Installation
-
Web Interface
- Access your Vaultwarden instance at your configured domain
- Create your master account and set up your organization structure
- Use the admin panel for system configuration (https://your-domain.com/admin) -
Client Setup
- Install Bitwarden clients on your devices
- Configure the client to use your self-hosted URL
- Login with your master credentials -
Security Best Practices
- Use a strong, unique master password
- Enable two-factor authentication
- Configure regular data backups
- Keep your Vaultwarden instance updated

Comments