17 min to read
Installing and Configuring HashiCorp Vault on Kubernetes
A step-by-step guide to deploying Vault on Kind cluster

Understanding HashiCorp Vault on Kubernetes
HashiCorp Vault is a secrets management tool that provides a secure way to store and access sensitive data. Deploying Vault on Kubernetes combines the power of a leading secrets management solution with the flexibility of container orchestration, enabling dynamic secrets delivery to applications in a cloud-native environment.
Prerequisites and Environment Setup
Before You Begin
To successfully complete this guide, you’ll need:
- Kind: A tool for running Kubernetes clusters locally using Docker containers
- kubectl: The Kubernetes command-line tool
- Helm: The package manager for Kubernetes
- jq: A lightweight command-line JSON processor
Make sure all these tools are installed on your system before proceeding.
Setting up Kind Cluster
| Component | Purpose |
|---|---|
| Control Plane | Hosts the Kubernetes API server and manages the cluster state |
| Worker Nodes (2) | Run application workloads and provide compute resources |
| Port Forwarding | Exposes Vault UI on port 30000 for external access |
Create a Kind cluster with port forwarding for Vault UI access:
# cluster-3nodes.yaml
kind: Cluster
apiVersion: kind.x-k8s.io/v1alpha4
nodes:
- role: control-plane
  extraPortMappings:
  - containerPort: 30000
    hostPort: 30000
    listenAddress: "0.0.0.0"
    protocol: TCP
- role: worker
- role: worker
# Create cluster
kind create cluster --name somaz-3nodes-kubernetes --config ./cluster-3nodes.yaml

# Verify nodes
kubectl get nodes
Vault Architecture and Concepts
Before installation, it’s important to understand Vault’s initialization process and how it manages secrets. A properly configured Vault deployment follows security best practices, including initialization, unsealing, and authentication.
Vault Deployment Process:
- Installation (Helm, HA setup, storage backend)
- Initialization (Unseal keys, root token)
- Unsealing (Raft join, unseal process)
- Configuration (Secret engines, auth methods, policies)
Vault Initialization Process
Vault initialization generates two critical security elements:
- Unseal Keys: Used to unlock Vault’s encrypted data
- Root Token: Provides initial administrative access
In production environments, these should be securely distributed among trusted operators. For this guide, we use a simplified setup with a single unseal key.
| Component | Description | Security Implications |
|---|---|---|
| Unseal Keys |
|
|
| Root Token |
|
|
Installing Vault on Kubernetes
We’ll install Vault using Helm, configuring it with high availability (HA) and Raft storage backend for resilience. This deployment creates a three-node Vault cluster to provide redundancy and fault tolerance.
Adding the HashiCorp Helm Repository
# Add HashiCorp helm repo
helm repo add hashicorp https://helm.releases.hashicorp.com
helm repo update

# Verify repository
helm repo list
Installing Vault with HA Configuration
High Availability Configuration
- HA Mode: Enables redundant Vault servers for failover
- Raft Storage: Integrated storage backend that replicates data across nodes
- Dedicated Namespace: Isolates Vault resources for better security and management
After installation, all Vault pods will start in an uninitialized, sealed state.
Verifying the Installation
kubectl get pods -n vault
NAME                                    READY   STATUS    RESTARTS   AGE
vault-0                                 0/1     Running   0          82s
vault-1                                 0/1     Running   0          82s
vault-2                                 0/1     Running   0          82s
vault-agent-injector-7f7f68d457-kqlsh   1/1     Running   0          83s
Initializing and Unsealing Vault
Initialization is a one-time process that generates the encryption keys used to protect data. After initialization, Vault starts in a sealed state and must be unsealed before it can process requests.
Initializing the Vault Cluster
For this demo, we're using a single unseal key (key-shares=1, key-threshold=1). In production environments, you should:
- Use multiple key shares (typically 5)
- Set a threshold requiring multiple operators (typically 3)
- Distribute keys to different trusted individuals
- Consider using auto-unseal with a cloud KMS for automated operations
Extracting the Keys for Unsealing
# Store unseal key and root token
VAULT_UNSEAL_KEY=$(cat cluster-keys.json | jq -r ".unseal_keys_b64[]")
CLUSTER_ROOT_TOKEN=$(cat cluster-keys.json | jq -r ".root_token")
Unsealing the Vault Cluster
# Unseal vault-0
kubectl exec vault-0 -n vault -- vault operator unseal $VAULT_UNSEAL_KEY

# Join and unseal vault-1
kubectl exec vault-1 -n vault -- vault operator raft join http://vault-0.vault-internal:8200
kubectl exec vault-1 -n vault -- vault operator unseal $VAULT_UNSEAL_KEY

# Repeat for vault-2
kubectl exec vault-2 -n vault -- vault operator raft join http://vault-0.vault-internal:8200
kubectl exec vault-2 -n vault -- vault operator unseal $VAULT_UNSEAL_KEY
Understanding the Unsealing Process
- Raft Join: Secondary nodes connect to the primary node
- Unsealing: Providing the unseal key to decrypt the master key
- Cluster Formation: Nodes form a cohesive HA cluster
After unsealing, Vault can process requests and serve secrets.
Accessing the Vault UI
Vault provides a web-based UI for managing secrets, policies, and authentication methods. We’ll configure a NodePort service to make the UI accessible from outside the cluster.
Configuring NodePort Service
kubectl patch svc vault -n vault -p '{"spec": {"type": "NodePort", "ports": [{"nodePort": 30000, "port": 8200, "protocol": "TCP"}]}}'
Accessing UI with Root Token
CLUSTER_ROOT_TOKEN=$(cat cluster-keys.json | jq -r ".root_token")

echo $CLUSTER_ROOT_TOKEN
hvs.bOXica9b3vWqfBaiZWfASOC1
UI Access and Authentication
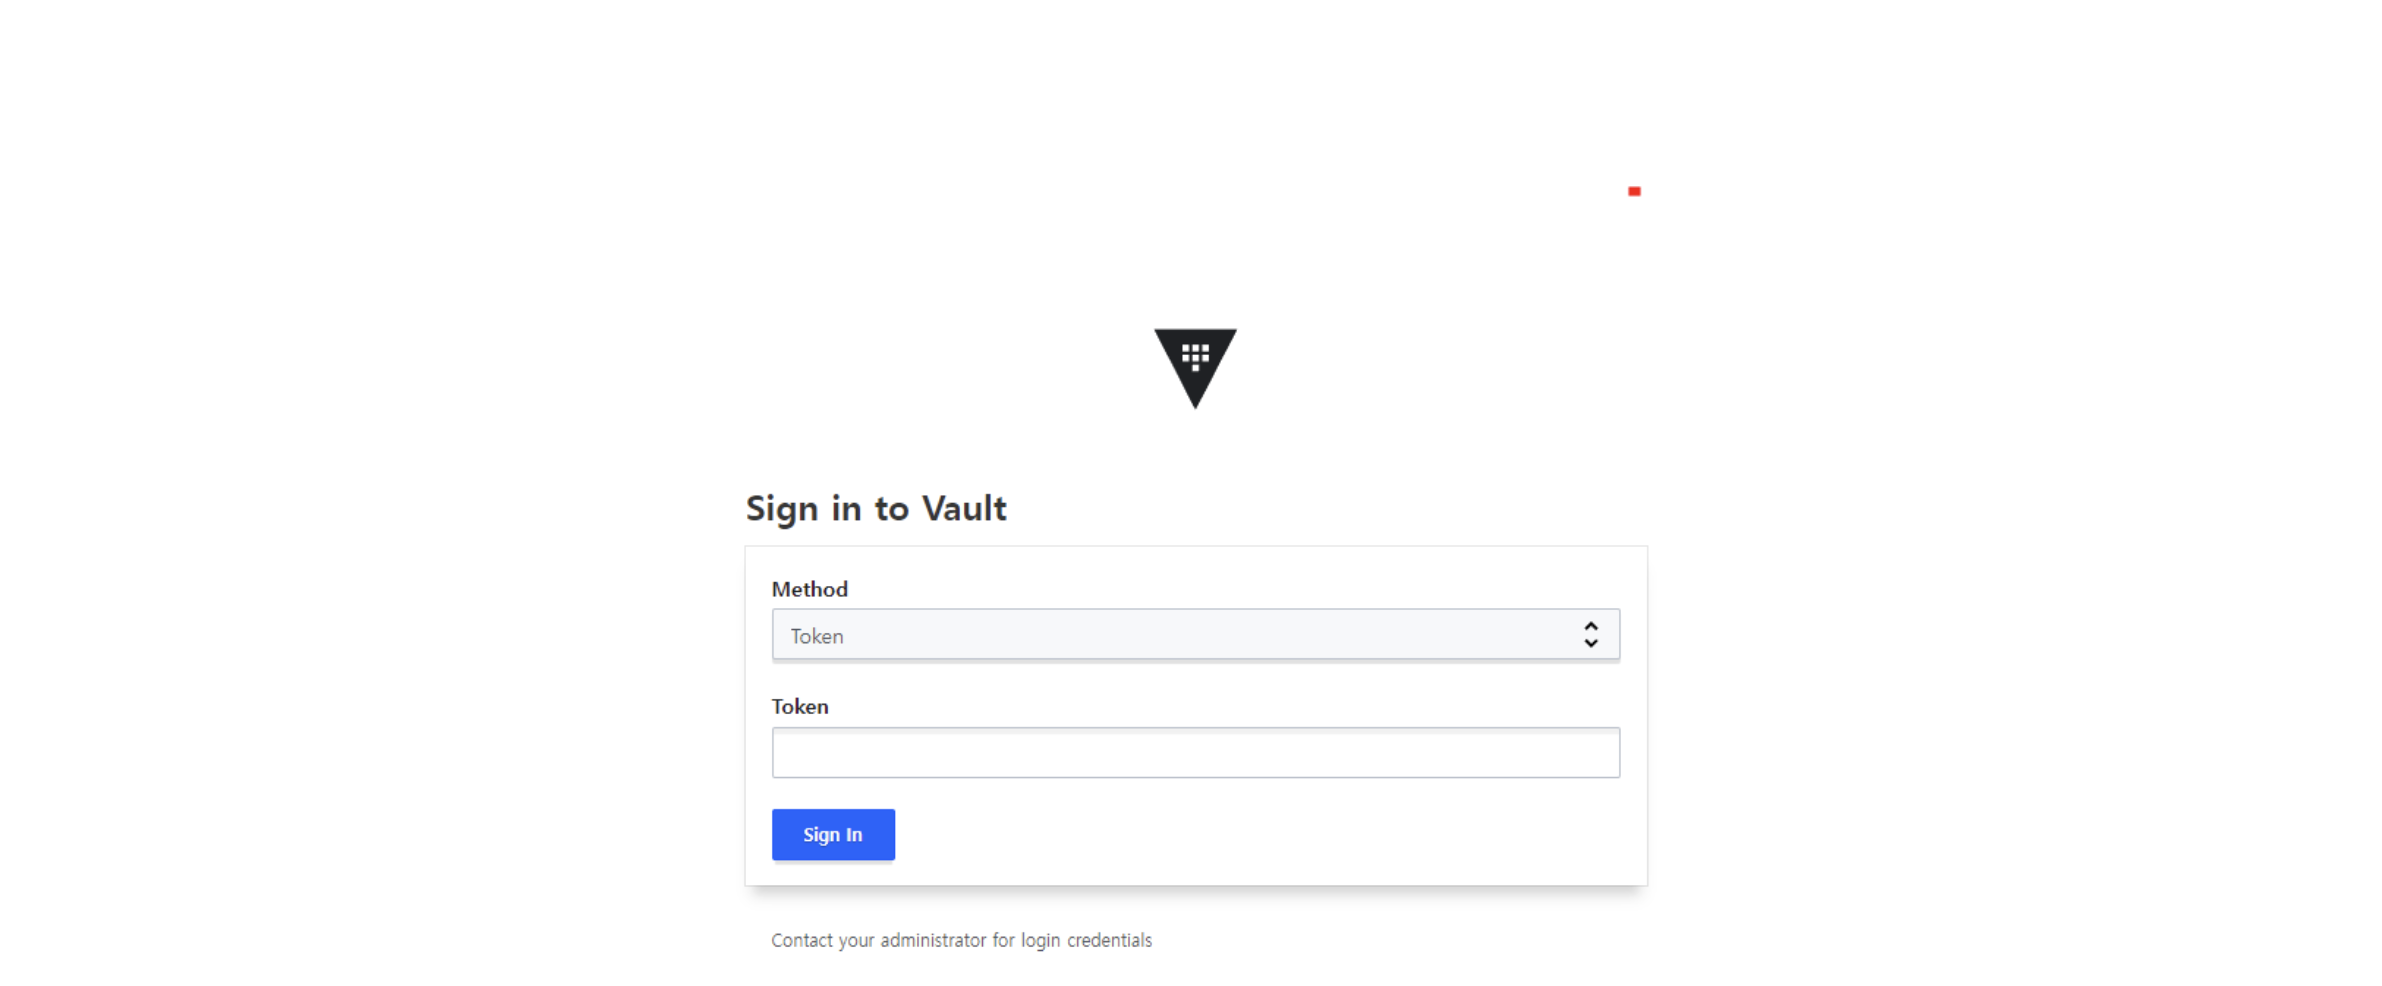
- URL: http://localhost:30000 (if running locally)
- Authentication: Use the root token for initial login
- Security Note: In production, configure TLS and restrict access

Creating a Regular User
kubectl exec --stdin=true --tty=true vault-0 -n vault -- /bin/sh

# activate userpass authentication
vault auth enable userpass

# create user
vault write auth/userpass/users/somaz password=<password> policies=<policies>

# login with user
vault login -method=userpass username=somaz password=<password>
Configuring Vault Secret Engines
Secret engines are components within Vault that store, generate, or encrypt data. Vault treats these engines as a virtual filesystem, where each engine is mounted at a specific path and provides access to secrets through that path.
Enabling the KV Secrets Engine
Understanding KV Secrets Engine
- Version 2 (KV-v2): Provides versioning, metadata, and soft delete capabilities
- Path-Based Access: Secrets are organized in a hierarchical structure
- Use Cases: Ideal for storing configuration data, API keys, passwords, and other static secrets
We’ll mount the KV-v2 engine at the “secret/” path, which is a common convention.
Implementing Access Control with Policies
Policies in Vault define the capabilities (permissions) a token has for accessing specific paths. They follow the principle of least privilege, allowing precise control over who can access what within Vault.
Creating a Read-Only Policy
| Policy Element | Description |
|---|---|
| Path | Specifies the secret path this policy applies to |
| Capabilities | Defines allowed operations (create, read, update, delete, list, deny) |
| Scope | Limited to the specific path and does not extend to sub-paths unless specified |
# Create read-only policy
kubectl exec -it vault-0 -n vault -- vault policy write devdb - <<EOF
path "secret/data/devdb/config" {
  capabilities = ["read"]
}
EOF
Policy Best Practices
- Least Privilege: Grant only the minimum permissions needed
- Path Specificity: Be as specific as possible with paths
- Policy Granularity: Create focused policies that can be combined
- Naming Conventions: Use clear, consistent naming patterns
Integrating with Kubernetes Authentication
Vault’s Kubernetes authentication method enables pods to authenticate with Vault using their Kubernetes service account tokens. This allows for a secure, automated authentication flow without managing additional credentials.
Configuring Kubernetes Authentication
The Kubernetes authentication process works as follows:
- Token Verification: Vault validates the service account token with Kubernetes API
- Role Binding: Vault checks if the service account is allowed to assume the requested role
- Policy Application: If authorized, Vault issues a token with policies attached to that role
- Automatic Renewal: Vault Agent can automatically renew the token before expiration
This mechanism provides secure, identity-based access without sharing long-lived credentials.
Creating Authentication Roles
| Parameter | Purpose |
|---|---|
| bound_service_account_names | Specifies which service accounts can authenticate |
| bound_service_account_namespaces | Limits authentication to pods in specific namespaces |
| policies | Policies to attach to tokens issued by this role |
| ttl | Maximum lifetime of tokens issued by this role |
Deploying Applications with Vault Integration
The Vault Agent Injector automatically injects secrets into pods at runtime. This approach eliminates the need to store secrets in ConfigMaps, environment variables, or the application code itself.
Preparing the Kubernetes Environment
# Create namespace
kubectl create namespace somaz

# Create service account
kubectl create serviceaccount somaz-app -n somaz
Deploying a Pod with Vault Integration
# Application Pod with Vault annotations
apiVersion: v1
kind: Pod
metadata:
  name: devsomazapp
  labels:
    app: devsomazapp
  annotations:
    vault.hashicorp.com/agent-inject: "true"
    vault.hashicorp.com/role: "db-app"
    vault.hashicorp.com/agent-inject-secret-credentials.txt: "secret/data/devdb/config"
spec:
  serviceAccountName: somaz-app
  containers:
    - name: devsomazapp
      image: jweissig/app:0.0.1
The annotations in the pod specification control how Vault Agent injects secrets:
- agent-inject: Enables the injection feature
- role: Specifies which Vault role to authenticate as
- agent-inject-secret-[filename]: Defines which secret to inject and where
- agent-inject-template-[filename] (optional): Provides a template for formatting the secret
When the pod is created, the Vault Agent Injector automatically adds the necessary containers to fetch and manage secrets.
Deploying and Verifying
# Apply the pod definition
kubectl apply -f devsomazapp.yaml -n somaz

# Check the secret has been injected
kubectl exec -it devsomazapp -c devsomazapp -n somaz -- cat /vault/secrets/credentials.txt
Working with Multiple Secrets
Applications often need access to multiple secrets. Vault makes it easy to inject multiple secrets into the same pod, each with its own path and access controls.
Adding Another Secret
Updating the Pod Definition
# Updated pod with multiple secrets
apiVersion: v1
kind: Pod
metadata:
  name: devsomazapp
  labels:
    app: devsomazapp
  annotations:
    vault.hashicorp.com/agent-inject: "true"
    vault.hashicorp.com/role: "db-app"
    vault.hashicorp.com/agent-inject-secret-devdb.txt: "secret/data/devdb/config"
    vault.hashicorp.com/agent-inject-secret-qadb.txt: "secret/data/qadb/config"
spec:
  serviceAccountName: somaz-app
  containers:
    - name: devsomazapp
      image: jweissig/app:0.0.1
| Secret Path | Mount Location | Content |
|---|---|---|
| secret/data/devdb/config | /vault/secrets/devdb.txt | Development database credentials |
| secret/data/qadb/config | /vault/secrets/qadb.txt | QA database credentials |
Verifying Multiple Secrets
# Recreate the pod with updated annotations
kubectl delete pod devsomazapp -n somaz
kubectl apply -f devsomazapp.yaml -n somaz

# Check for injected secrets
kubectl exec -it devsomazapp -c devsomazapp -n somaz -- ls /vault/secrets/
devdb.txt  qadb.txt

# View the content of each secret
kubectl exec -it devsomazapp -c devsomazapp -n somaz -- cat /vault/secrets/devdb.txt
kubectl exec -it devsomazapp -c devsomazapp -n somaz -- cat /vault/secrets/qadb.txt
Managing User Permissions
Understanding User Policies
The root token has unlimited access to all Vault resources. For security reasons:
- Avoid Regular Use: Don't use the root token for daily operations
- Create Admin Users: Set up users with appropriate permissions
- Revoke After Setup: Consider revoking the root token after initial setup
- Regenerate When Needed: Root tokens can be recreated with unseal keys if needed
Using properly scoped tokens reduces the risk of accidental or malicious damage.
Creating an Admin Policy
# Login with root token
kubectl exec -it vault-0 -n vault -- vault login $CLUSTER_ROOT_TOKEN

# Create admin policy
kubectl exec -it vault-0 -n vault -- vault policy write admin - <<EOF
path "*" {
  capabilities = ["create", "read", "update", "delete", "list", "sudo"]
}
EOF

# Assign admin policy to a user
kubectl exec -it vault-0 -n vault -- vault write auth/userpass/users/somaz policies=admin

# Verify user policies
kubectl exec -it vault-0 -n vault -- vault read auth/userpass/users/somaz
| Policy Name | Scope | Typical User |
|---|---|---|
| root | Unlimited access | Initial setup only, emergency access |
| admin | Full system control | Vault administrators |
| devdb | Read dev secrets | Development applications |
| qadb | Read QA secrets | QA applications |
Key Points and Best Practices
-
Initialization and Unsealing
- Store unseal keys securely and separately
- Consider using auto-unseal for production
- Revoke the root token after initial configuration -
Authentication and Authorization
- Use the Kubernetes auth method for applications
- Implement fine-grained policies following least privilege
- Prefer short-lived tokens with automatic renewal -
Secret Injection
- Use the Vault Agent Injector for Kubernetes integration
- Template secrets to match application requirements
- Implement secret rotation for sensitive credentials -
Operational Readiness
- Set up monitoring and alerting for Vault status
- Configure regular backups of Vault data
- Implement proper audit logging


Comments