10 min to read
Python Virtual Environment Setup on WSL2 Ubuntu: Managing Multiple Python Versions with pyenv and virtualenv
A comprehensive guide to configuring isolated Python development environments for conflict-free project management
Introduction to Python Virtual Environment Management
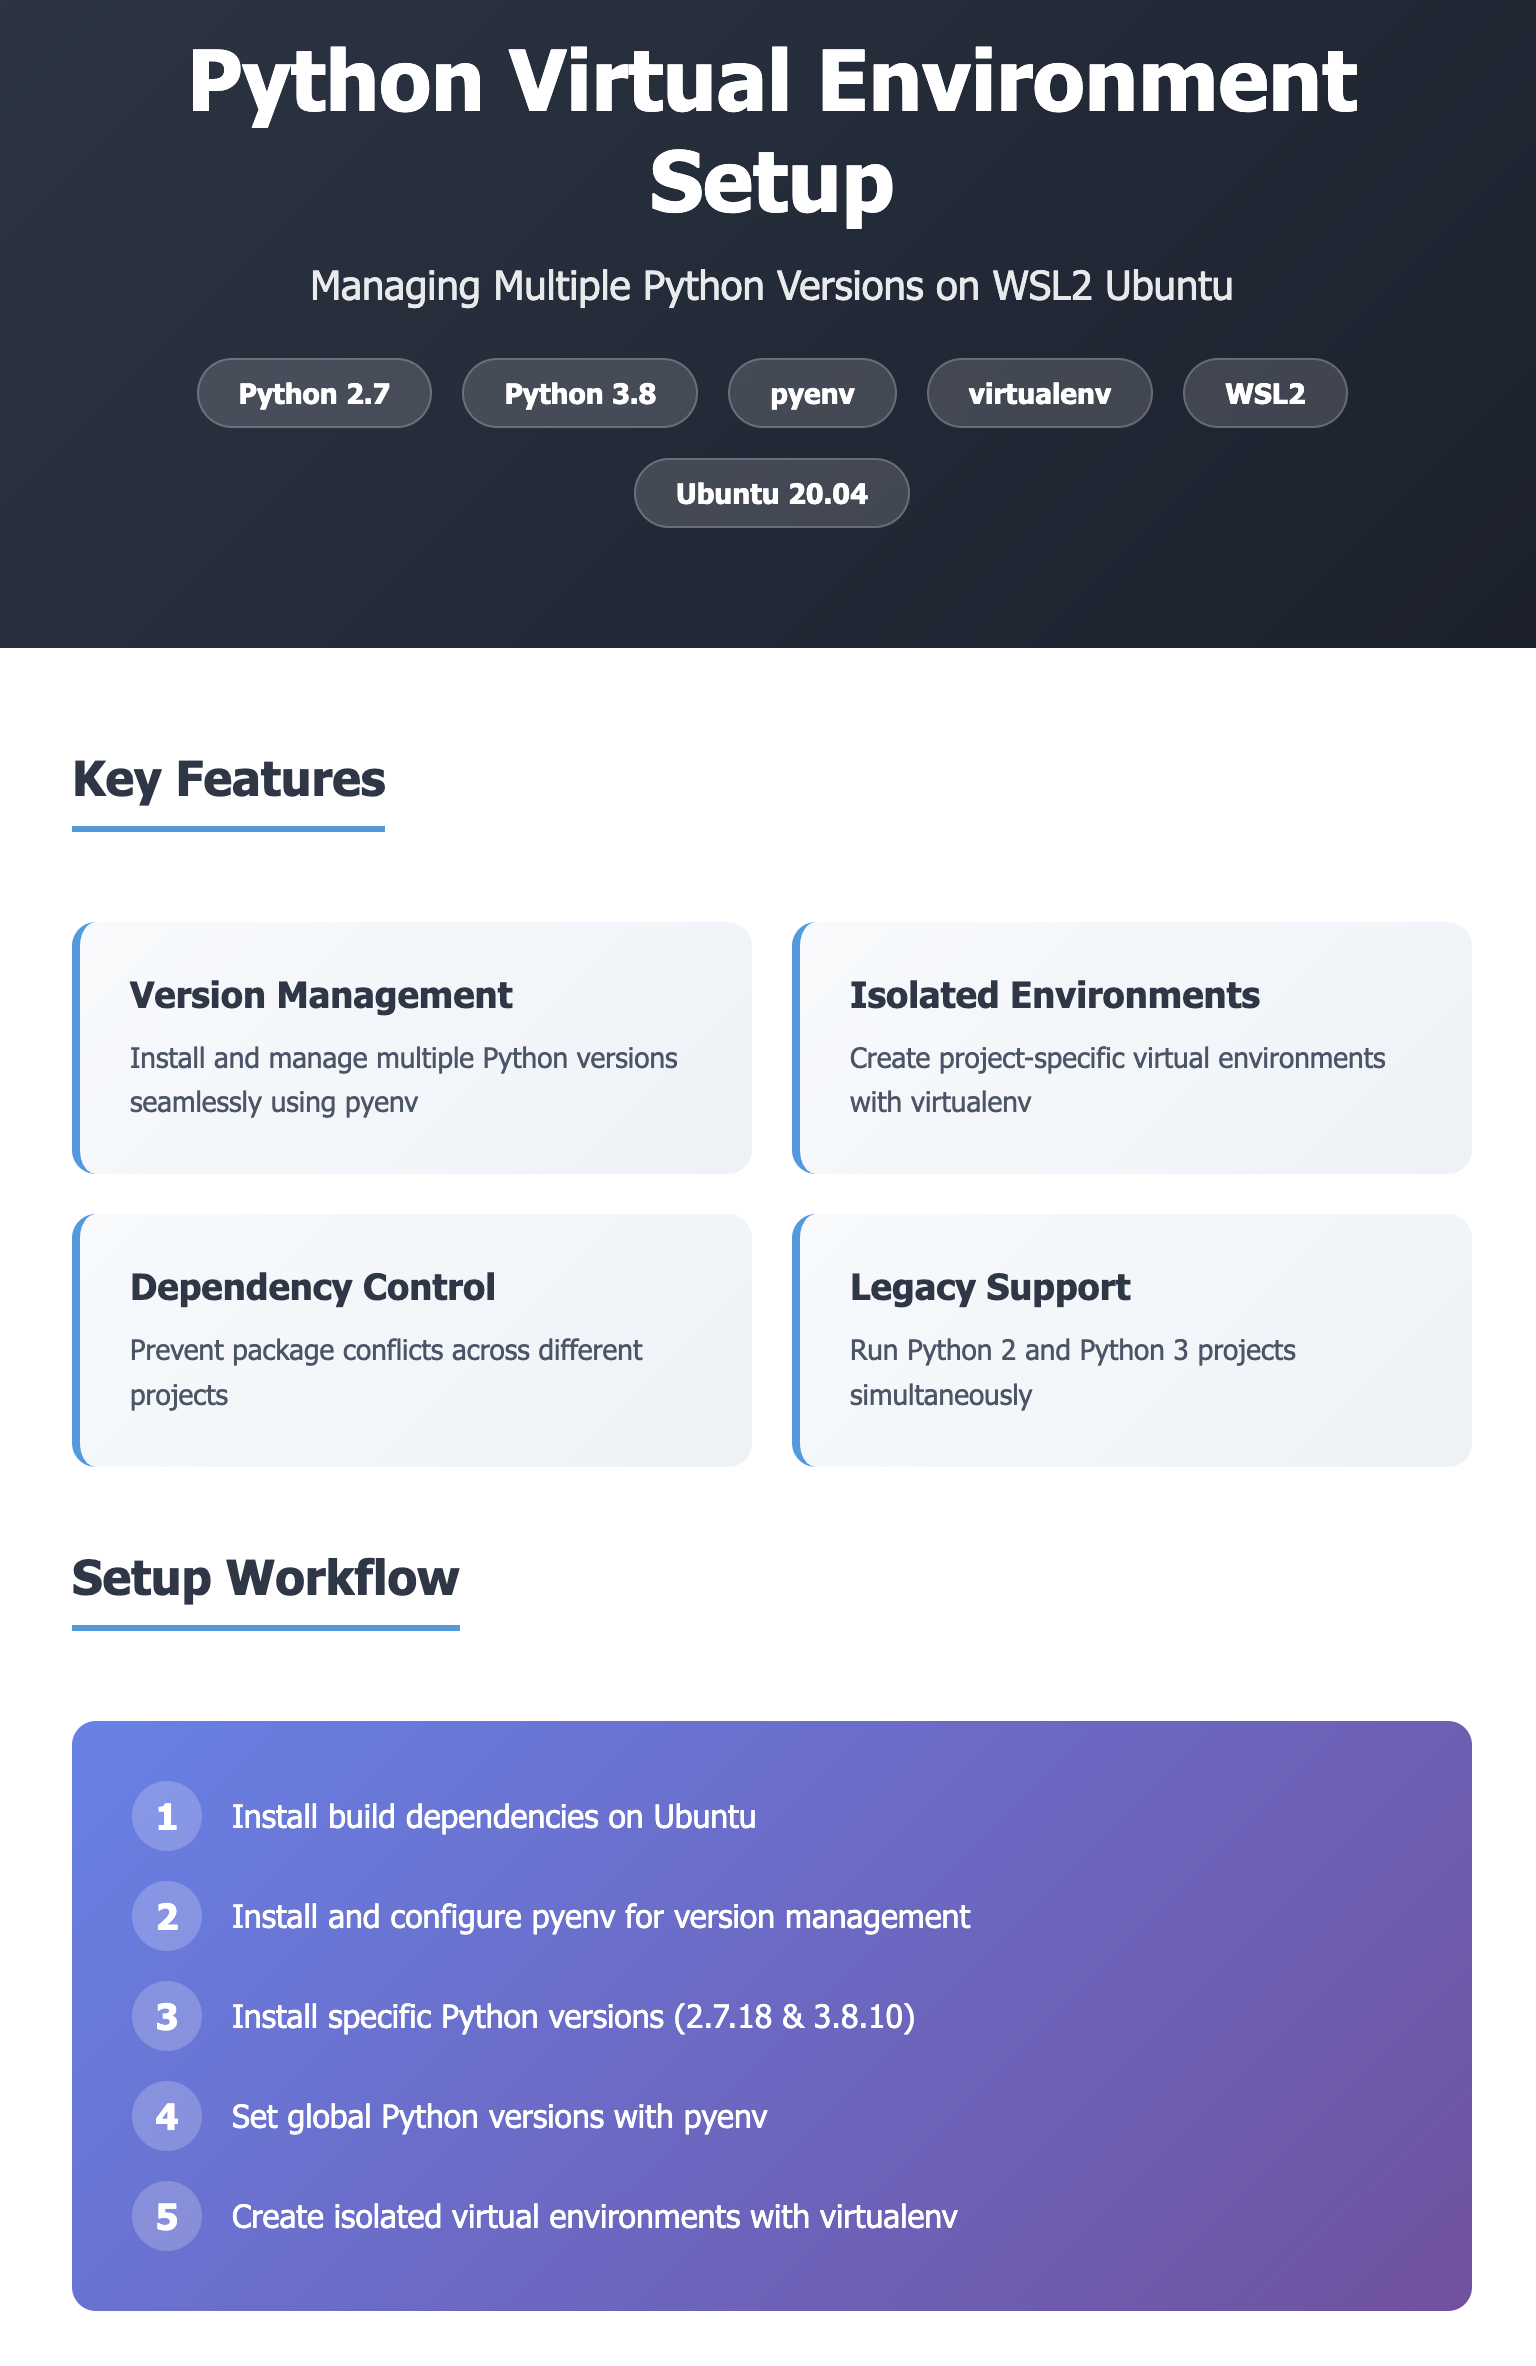
When operating Python projects, developers frequently encounter scenarios where different projects require different Python versions or distinct package configurations. This guide provides a systematic approach to solving these challenges by:
- Installing specific Python versions using pyenv
- Creating isolated virtual environments with virtualenv
- Managing Python 2.7 and 3.8 environments simultaneously
- Configuring WSL2-specific paths and settings
The workflow follows this pattern:
- Install Python versions via pyenv on Ubuntu
- Create Python 2/3 virtual environments using virtualenv
- Configure WSL2-specific paths, settings, and debugging tips
This setup is particularly valuable when working with legacy Python 2 codebases alongside modern Python 3 projects, allowing seamless switching between environments without version conflicts.
Source: pyenv GitHub Repository
System Requirements and Prerequisites
Verify Ubuntu Version
Before beginning the setup process, confirm your Ubuntu distribution version:
lsb_release -a
Expected Output:
Distributor ID: Ubuntu
Description:    Ubuntu 20.04.6 LTS
Release:        20.04
Codename:       focal
Install Build Dependencies (Ubuntu/Debian)
Install the required build dependencies for compiling Python from source:
sudo apt-get update; sudo apt-get install make build-essential libssl-dev zlib1g-dev \
libbz2-dev libreadline-dev libsqlite3-dev wget curl llvm \
libncursesw5-dev xz-utils tk-dev libxml2-dev libxmlsec1-dev libffi-dev liblzma-dev python2
Installing and Configuring pyenv
Understanding pyenv
pyenv is a powerful Python version management tool that allows you to:
- Install multiple Python versions system-wide
- Switch between Python versions seamlessly
- Set global, local, or shell-specific Python versions
- Manage virtual environments through plugins
Installation Process
Step 1: Check Available Python Versions
# List all available Python versions for installation
pyenv install --list
Step 2: Install pyenv
# Download and install pyenv using the official installer
curl https://pyenv.run | bash

# Add pyenv to shell configuration
echo 'export PYENV_ROOT="$HOME/.pyenv"' >> ~/.bashrc
echo 'export PATH="$PYENV_ROOT/bin:$PATH"' >> ~/.bashrc
echo 'eval "$(pyenv init -)"' >> ~/.bashrc
echo 'eval "$(pyenv virtualenv-init -)"' >> ~/.bashrc

# Reload shell configuration
source ~/.bashrc
Step 3: Verify Python Installation
Check the default Python versions available on your system:
# Check Python 3 version
python3
Output:
Python 3.8.10 (default, May 26 2023, 14:05:08)
[GCC 9.4.0] on linux
Type "help", "copyright", "credits" or "license" for more information.
>>> exit()
# Check Python 2 version
python2
Output:
Python 2.7.18 (default, Jul  1 2022, 12:27:04)
[GCC 9.4.0] on linux2
Type "help", "copyright", "credits" or "license" for more information.
>>> exit()
Python Version Configuration with pyenv
Installing Specific Python Versions
When you attempt to set Python versions that aren’t installed, pyenv will notify you:
# Set global Python versions
pyenv global 3.8.10 2.7.18
Error Response:
pyenv: version `3.8.10' not installed
Installing Required Versions
# Install Python 3.8.10
pyenv install 3.8.10

# Install Python 2.7.18
pyenv install 2.7.18
Setting Global Python Versions
After installation completes, configure the global Python versions:
# Set both Python 3.8.10 and 2.7.18 as available versions
pyenv global 3.8.10 2.7.18
python or python3. Python 2.7.18 remains accessible via python2.
Virtual Environment Setup
Understanding Virtual Environments
Virtual environments provide isolated Python environments for different projects, preventing dependency conflicts. Each virtual environment maintains its own:
- Python interpreter version
- Installed packages and their versions
- Site-packages directory
- Scripts and binaries
Verify pip Installation
Before creating virtual environments, verify that pip is properly installed for both Python versions:
# Check pip2 version
pip2 --version
Output:
pip 20.3.4 from /home/somaz/.pyenv/versions/2.7.18/lib/python2.7/site-packages/pip (python 2.7)
# Check pip3 version
pip3 --version
Output:
pip 21.1.1 from /home/somaz/.pyenv/versions/3.8.10/lib/python3.8/site-packages/pip (python 3.8)
Install virtualenv
Install virtualenv using the system package manager:
sudo apt install virtualenv
Creating Python Virtual Environments
Python 2 Virtual Environment Setup
Create an isolated Python 2.7 environment:
virtualenv -p $(pyenv which python2) somaz
Output:
created virtual environment CPython2.7.18.final.0-64 in 148ms
  creator CPython2Posix(dest=/home/somaz/somaz, clear=False, global=False)
  seeder FromAppData(download=False, pip=latest, setuptools=latest, wheel=latest, pkg_resources=latest, via=copy, app_data_dir=/home/somaz/.local/share/virtualenv/seed-app-data/v1.0.1.debian.1)
  activators BashActivator,CShellActivator,FishActivator,PowerShellActivator,PythonActivator
Activating the Environment:
# Activate the virtual environment
source somaz/bin/activate

# Your prompt will change to indicate the active environment
(somaz) somaz@BOOK-CRMT0FFGUS:~$
Deactivating the Environment:
# Deactivate when finished working
(somaz) somaz@BOOK-CRMT0FFGUS:~$ deactivate
Python 3 Virtual Environment Setup
Create an isolated Python 3.8 environment:
virtualenv -p $(pyenv which python3) somaz
Output:
created virtual environment CPython3.8.10.final.0-64 in 182ms
  creator CPython3Posix(dest=/home/somaz/somaz, clear=False, global=False)
  seeder FromAppData(download=False, pip=latest, setuptools=latest, wheel=latest, pkg_resources=latest, via=copy, app_data_dir=/home/somaz/.local/share/virtualenv/seed-app-data/v1.0.1.debian.1)
  activators BashActivator,CShellActivator,FishActivator,PowerShellActivator,PythonActivator,XonshActivator
Activating the Environment:
# Activate the virtual environment
source somaz/bin/activate

# Your prompt will change to indicate the active environment
(somaz) somaz@BOOK-CRMT0FFGUS:~$
Deactivating the Environment:
# Deactivate when finished working
(somaz) somaz@BOOK-CRMT0FFGUS:~$ deactivate
Best Practices and Workflow
Project-Specific Virtual Environments
For optimal organization, create separate virtual environments for each project:
# Navigate to project directory
cd ~/projects/my-python2-project

# Create Python 2 environment
virtualenv -p $(pyenv which python2) venv

# Activate environment
source venv/bin/activate

# Install project dependencies
pip install -r requirements.txt
Managing Multiple Environments
You can create multiple virtual environments with descriptive names:
# Create environment for legacy project
virtualenv -p $(pyenv which python2) ~/venvs/legacy-project-py27

# Create environment for modern project
virtualenv -p $(pyenv which python3) ~/venvs/modern-project-py38

# Create environment for data science project
virtualenv -p $(pyenv which python3) ~/venvs/datascience-py38
Activating Different Environments
# Activate legacy project environment
source ~/venvs/legacy-project-py27/bin/activate

# When done, deactivate and switch to another
deactivate
source ~/venvs/modern-project-py38/bin/activate
Common Commands and Tips
Essential Commands Reference
# List all installed Python versions
pyenv versions

# Show currently active Python version
pyenv version

# Install a specific Python version
pyenv install 3.9.16

# Set global Python version
pyenv global 3.9.16

# Set local Python version (for current directory)
pyenv local 3.8.10

# Uninstall a Python version
pyenv uninstall 2.7.18

# Update pyenv
cd ~/.pyenv
git pull
Virtual Environment Commands
# Create virtual environment with specific Python version
virtualenv -p $(pyenv which python3.9) myproject

# Create virtual environment with system Python
virtualenv -p /usr/bin/python3 myproject

# List packages in active environment
pip list

# Freeze current environment dependencies
pip freeze > requirements.txt

# Install dependencies from requirements file
pip install -r requirements.txt

# Remove virtual environment
rm -rf myproject/
Troubleshooting Common Issues
Issue 1: pyenv command not found
Problem:
bash: pyenv: command not found
Solution:
# Verify pyenv installation path
ls -la ~/.pyenv

# Re-add to bashrc if missing
echo 'export PYENV_ROOT="$HOME/.pyenv"' >> ~/.bashrc
echo 'export PATH="$PYENV_ROOT/bin:$PATH"' >> ~/.bashrc
echo 'eval "$(pyenv init -)"' >> ~/.bashrc
source ~/.bashrc
Issue 2: Python build fails
Problem:
Build dependencies missing during Python installation.
Solution:
# Reinstall all required dependencies
sudo apt-get update
sudo apt-get install --reinstall make build-essential libssl-dev zlib1g-dev \
libbz2-dev libreadline-dev libsqlite3-dev wget curl llvm \
libncursesw5-dev xz-utils tk-dev libxml2-dev libxmlsec1-dev libffi-dev liblzma-dev
Issue 3: Permission denied errors
Problem:
Permission errors when installing packages.
Solution:
# Never use sudo with pip in virtual environments
# Instead, ensure virtual environment is activated
source venv/bin/activate

# Then install packages normally
pip install package-name
Conclusion
Setting up a Python development environment on WSL2 Ubuntu is the foundation for an efficient development workflow. This guide covered using pyenv and virtualenv to seamlessly switch between Python 2.7 and 3.8 while creating independent virtual environments.
Key Takeaways
Through this configuration approach, you can:
- Isolate dependencies on a per-project basis
- Maintain stability across different development environments
- Prevent version conflicts between projects
- Switch seamlessly between Python versions
Benefits Across Development Domains
This setup methodology proves especially valuable for:
- Server Development: Managing production and development environments
- Data Analysis: Handling different package versions for various datasets
- Machine Learning Projects: Isolating framework dependencies (TensorFlow, PyTorch, etc.)
- Legacy System Maintenance: Supporting older Python 2 codebases alongside modern Python 3 development
Future Enhancements
To further strengthen your Python development ecosystem, consider exploring:
- pyenv-virtualenv: Integrated virtual environment management within pyenv
- pipenv: Combines pip and virtualenv with enhanced dependency resolution
- poetry: Modern dependency management with lock files and publishing support
- conda: Comprehensive package and environment management, especially for data science
Final Thoughts
One system, multiple Python projects. With the pyenv + virtualenv combination, it’s no problem.
This setup provides the flexibility and isolation necessary for professional Python development, enabling you to work on diverse projects without configuration headaches or dependency conflicts.
Related Articles
- WSL 2 Docker Installation Guide
- Python Package Management Best Practices
- Linux Development Environment Setup


Comments